We are back at Best Choice, which is Miguel’s shop. If you’ve followed the channel for a while, you know Miguel is our go-to guy for all things aesthetic and protective. He’s tinted every EV we’ve owned and even handled the vinyl wrap removal on our previous Model X.
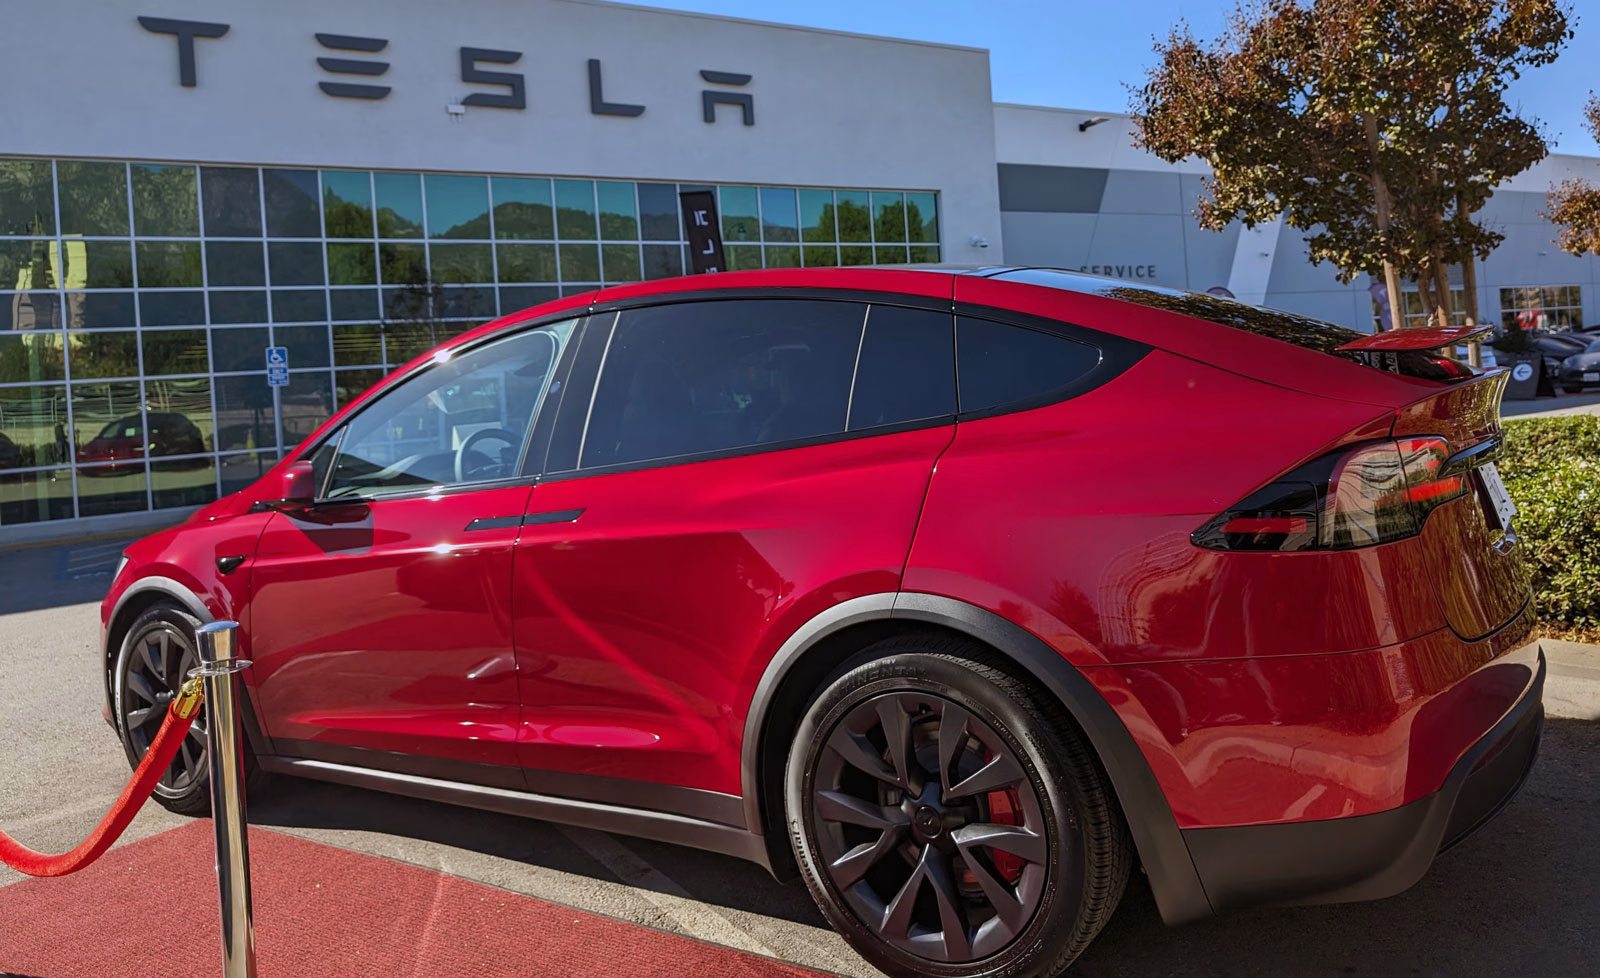
Today, we’re here for a bittersweet task: removing the Paint Protection Film (PPF) from our current Model X Plaid. As many of you know, our buyback was approved by Tesla, and we are getting ready to surrender the vehicle. Part of that process involves returning the car to its original state.
Why We’re Removing the PPF
You might be wondering why we don’t just leave it on. When you’re surrendering a vehicle for a buyback, you want the exterior to be as clean and “factory” as possible to avoid any hiccups in the inspection process. While PPF is a massive value-add for a private sale, for a manufacturer buyback, it’s safer to strip it down to the original paint.
I tried to start the removal myself, but let me tell you—my fingertips were done after about five minutes. It’s a labor-intensive process that requires a level of patience I just don’t have. That’s why we brought it to the pros.
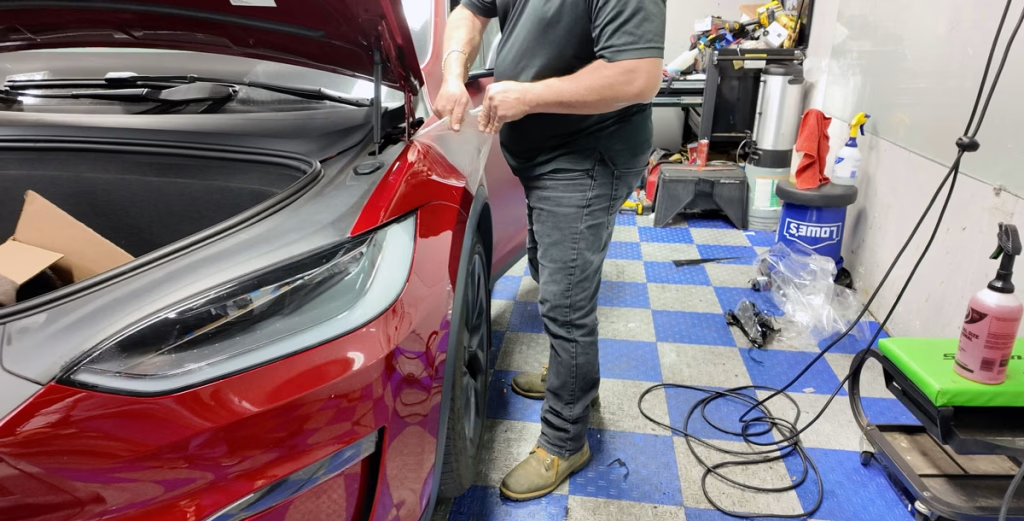
The Removal Process: Steam vs. Heat Guns
Miguel and Leo showed me the technical side of stripping high-quality PPF. It’s not just about “peeling it off.” You have to “read the material” to see which way it wants to go.
- Industrial Steamer: Leo uses an industrial-grade steamer that puts out significantly more heat and moisture than your typical home steamer. This softens the adhesive and allows the film to stretch rather than tear.
- Heat Gun: Miguel uses a high-output heat gun for the stubborn edges and curves. The trick is keeping the gun at the right distance to avoid burning the film or, worse, damaging the clear coat.
- Adhesive Removal: Even with heat, some residue is left behind. Miguel uses a safe cleaning solution (never gasoline!) to dissolve the streaks and leave the paint factory-fresh.
The Verdict: Was the PPF Worth It?
While they were stripping the driver-side door, we found the ultimate proof that PPF works. There was a visible scratch on the door that looked pretty deep. Once Miguel peeled back the film, we saw that the paint underneath was perfect. The scratch had only penetrated the film. Without that protection, we would have been looking at a $1,000+ body shop bill for a repaint and color sand before surrendering the car. As Miguel joked, if your spouse is driving the car, PPF isn’t just an option—it’s an insurance policy!
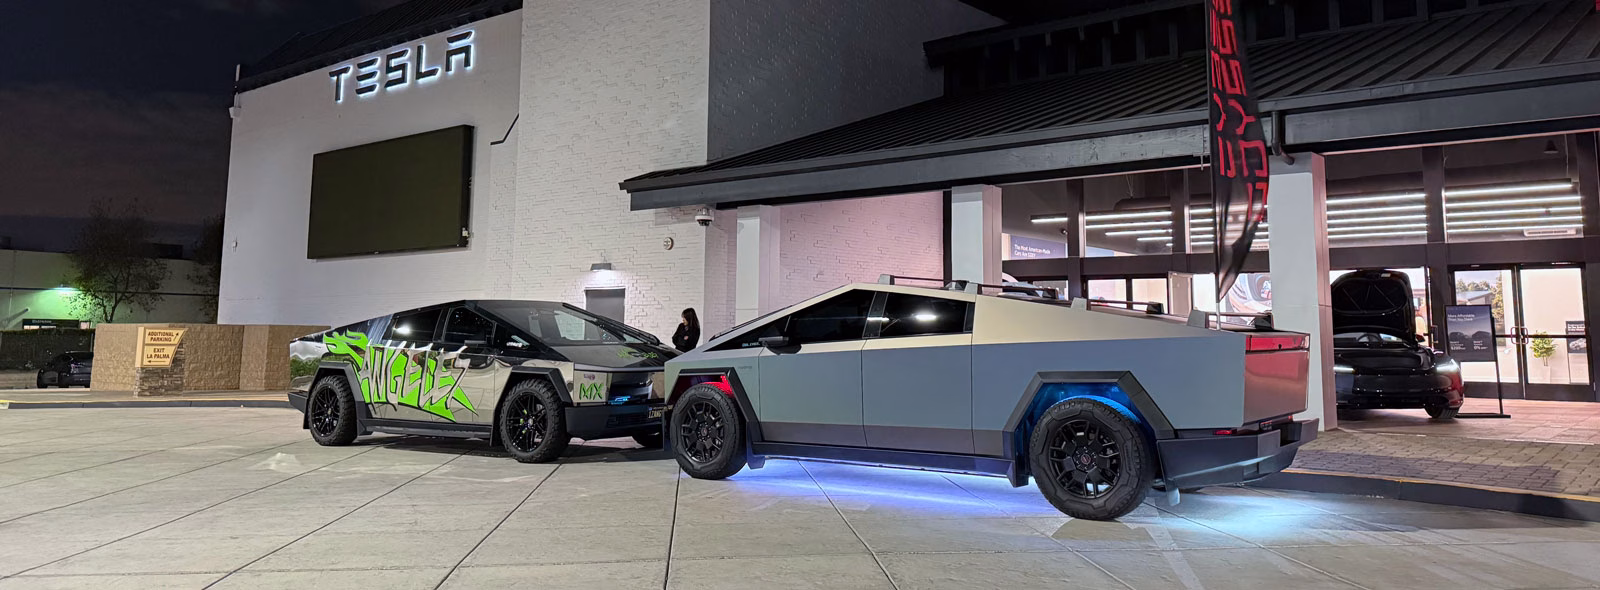
The Fleet Transition
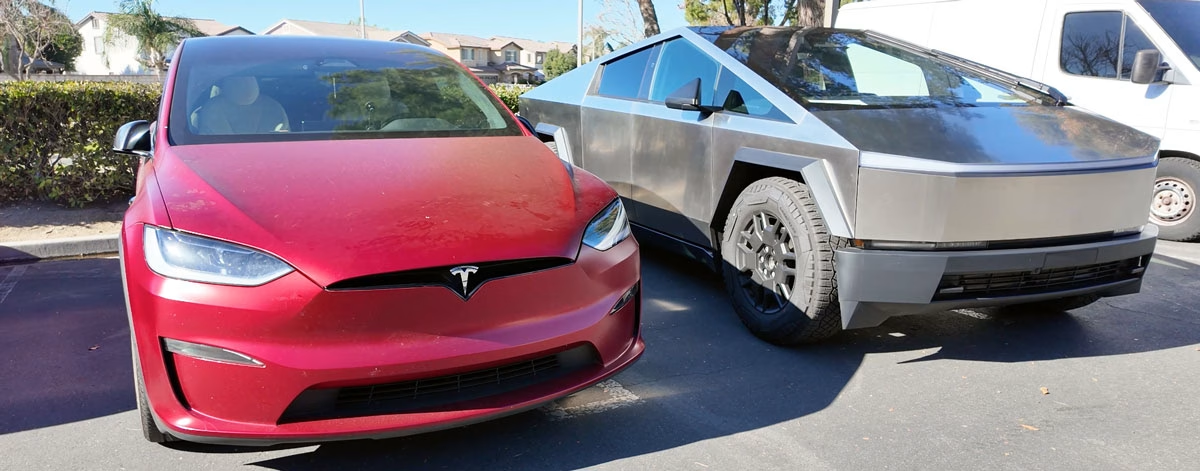
Seeing the Cybertruck and the Model X side-by-side at the shop really drove home how much the “SherwinM” driveway is changing. This should have been the ultimate dual-Tesla combo, but with the Model X’s ongoing technical issues, it just wasn’t meant to be.
Next up is the final review of the Model X and the official surrender video. It’s been a wild ride with this car, and I have a lot of final thoughts to share on why we eventually had to let the Plaid go.
Prep Checklist for Tesla Buyback
| Step | Status | Notes |
| PPF/Wrap Removal | Completed | Professional removal avoids paint damage. |
| Window Tint | Optional | We usually leave the tint as it’s a permanent upgrade. |
| Personal Data | Pending | Factory reset the infotainment system. |
| Accessories | Pending | Remove all aftermarket floor mats and organizers. |
| Cleanliness | Pending | Interior detail to ensure a smooth hand-off. |
Support Local Business
If you’re in Southern California and need your windows tinted, your PPF installed (or removed!), or even a windshield repair, go see Miguel at Best Choice. He’s EV-friendly and even has a NEMA 14-50 plug at the shop so you can top off while you wait. Tell him Sherwin sent you, and he’ll take care of you!
Leave a Reply